Kids will love exploring a new painting technique as they create tinfoil process art Christmas ornaments.
The Christmas season is often a time when parents and teachers have children create standard holiday crafts. This often involves following specific step by step directions. When completed, the crafts are generally identical. Oftentimes there is a right way and wrong way for the finished product to look.
Today we’ll be adding a bit of Process Art to the traditional holiday craft and as a result, the artwork will be more individualized, free-flowing, and spontaneous. By using uncommon art materials such as tinfoil and Q-tips, your child will explore a new painting technique as they create tinfoil process art Christmas ornaments.
Get ready to bring some uniqueness and originality into the craft world! This art activity is ideal for young learners as well as our older friends and will focus on problem-solving skills while highlighting fine motor skill development and color theory.
Tinfoil Process Art Christmas Ornaments

GET A FULL WEEK OF CHRISTMAS THEME ACTIVITIES IN OUR PRINTABLE PRESCHOOL LESSON PLANS

Materials for Tinfoil Process Art Ornaments:
- Construction Paper
- Tempera Paint
- Tape
- Tinfoil
- Q-tips
- Hole punch
- Ribbon
- Marker
Why Process Art?

Process art puts the child in charge! Let him or her explore and create as they wish. The magic is in the making!
Children can create freely without boundaries or rules. Say goodbye to the pressure of creating picture-perfect crafts and instead embrace experimenting with a variety of non-traditional art materials through the creative process.
Step By Step Directions for making Tinfoil Process Art Christmas Ornaments
1. Let’s Get Symmetrical!

Ask your child what symmetrical holiday item they would like to create. Possibilities include a Christmas tree, snowman, bell, Christmas ball, and present. First, fold a piece of construction paper in half. Draw half of your image on the fold. Cut it out and also cut out the center of the image. Open your folded paper to reveal the ornament template. The area cut out in the middle will be filled with tinfoil.
2. Tape it Up!

Cut a piece of tinfoil to fit the ornament template. Put the template on top of the tinfoil and use a marker to trace the inside of the shape onto the tinfoil. Next, cut out the tinfoil shape but make sure to add an additional half-inch around. Tape the tinfoil onto the back of your holiday image.
3. Paint Away!

Use a Q-tip as a paintbrush and swirl, dot, and paint on the tinfoil. Many children find painting on the tinfoil’s smooth surface to be relaxing and calming. Let your child decide what colors to use and if they would like to mix colors. Try mixing two primary colors together to create a secondary color. Can they create green for the tree? How can they create pink for the Christmas ball? Through trial and error, your child can explore color theory and terms such as primary colors, secondary colors, tints, and shades.
4. Display

After the paint dries attach a ribbon to the top by using a hole punch. Add the year to the front and gift the ornament to a family member or save it as a keepsake. Hang the ornament on your tree and revisit it year after year.
Color Theory for Beginners:
The book Mouse Paint by Ellen Stoll Walsh is a tried and true favorite when discussing color theory with young learners. The mice step, hop, and dance throughout the story as they create new colors.
Primary Colors: Red, Yellow, Blue
Secondary Colors: Orange, Purple, Green
Tint: Add White
Shade: Add Black

I hope you enjoy using a bit of Process Art to make a one-of-a-kind ornament. This whimsical addition to your Christmas tree will be a reminder of the quality time you spent with your child creating art!
CONNECT WITH VIN GIANNETTO
Learn more about Vin here on his author bio page. Follow along with him on Facebook at Young School Art with Mr. Giannetto and on Instagram @youngschoolartwithmr.g for art project ideas.
MORE ART AND CRAFT PROJECT IDEAS FROM VIN
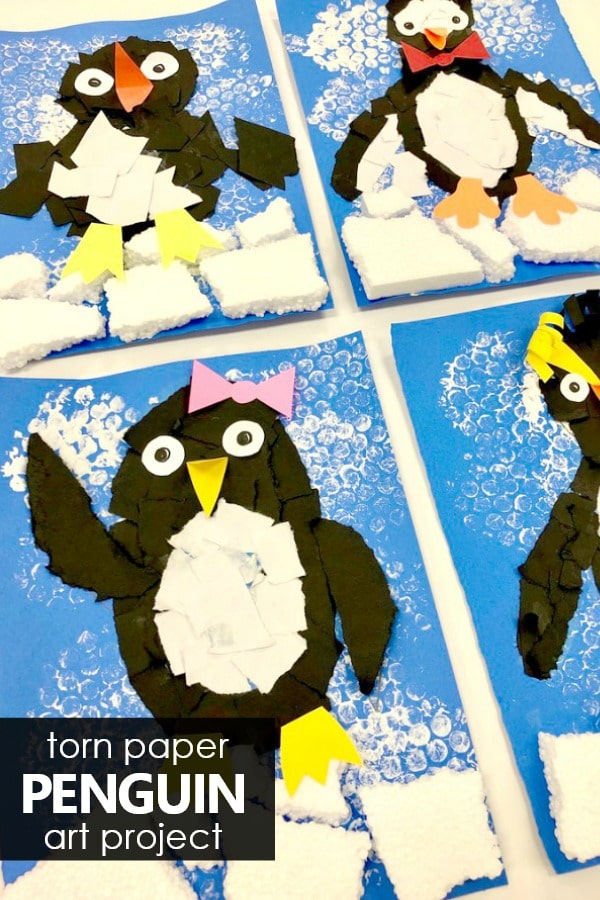
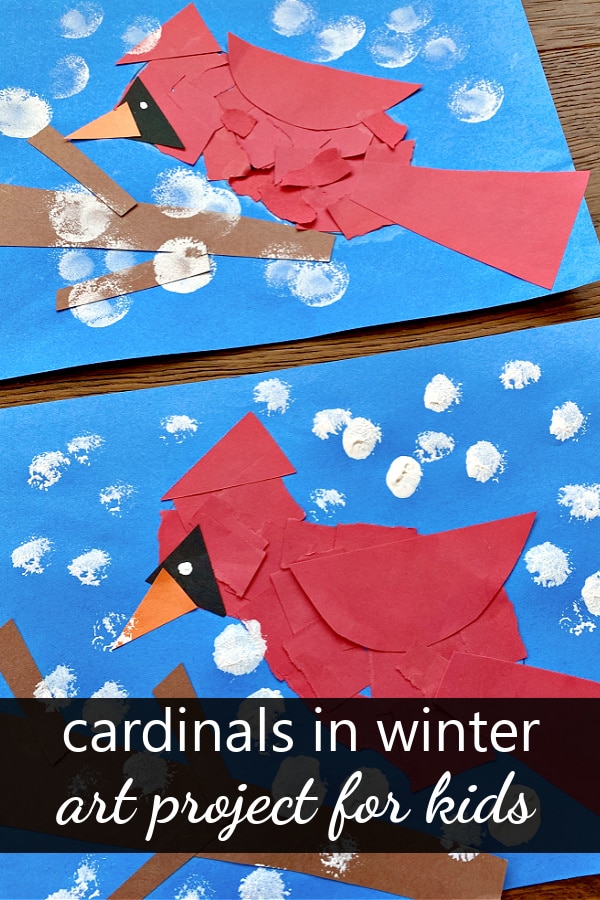
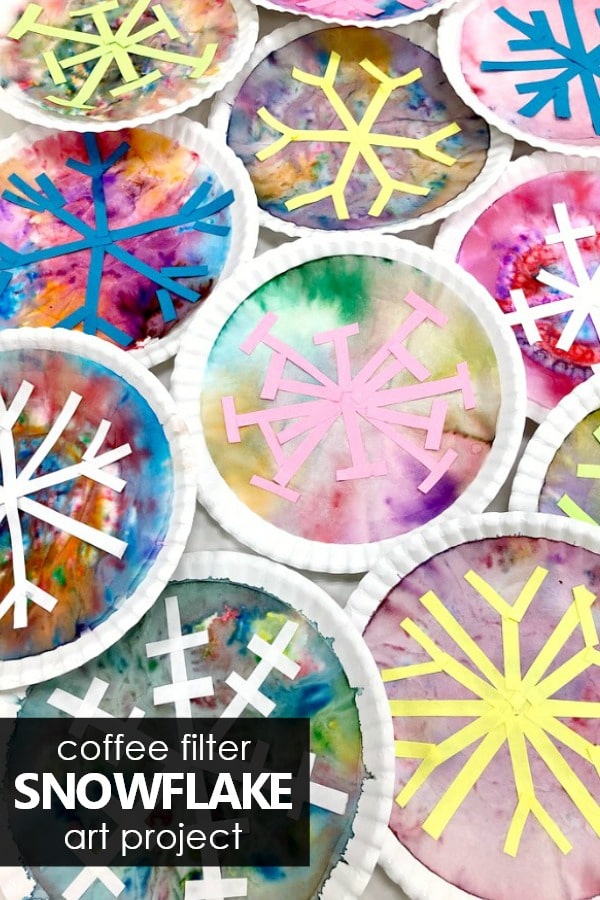
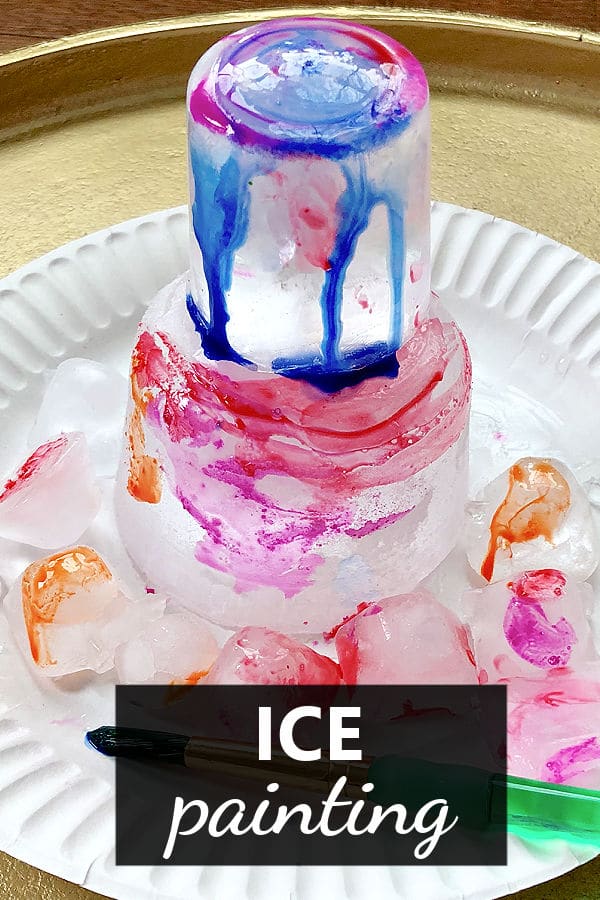
Winter and Winter Holiday Art Projects for Kids
Click on the images below to see the full tutorial for each art project.
GET A FULL SET OF CHRISTMAS THEME ACTIVITIES

Explore the symbols and traditions of Christmas and incorporate reading, math, science and more in this 169-page preschool secular Christmas lesson plan set full of fun and playful Christmas learning activities for preschool. Watch this short video to see just a few examples of the types of activities and printables included in this set:
The 169-page Christmas Lesson Plan Set includes hands-on activities and these additional printables:
1) Beginning Letters Gift Sorting Game (in color and b/w)
2) Reindeer Math Mats (2 versions in color and b/w)
3) My Christmas Senses Activity Book Making Pieces
4) 0-35 Christmas Number Cards (2 versions in color and b/w)
5) Christmas Counting Syllables Sorting Game (in color and b/w)
6) Christmas Picture-Word Cards (in color and b/w)
7) Ornament Play Dough Mats
8) Candy Cane Play Dough Writing Task Cards (shapes, uppercase letters, lowercase letters, number 0-20)
9) Christmas Light Patterns Activity Pieces (in color and b/w)

Also available on Teachers Pay Teachers.


Leave a Reply