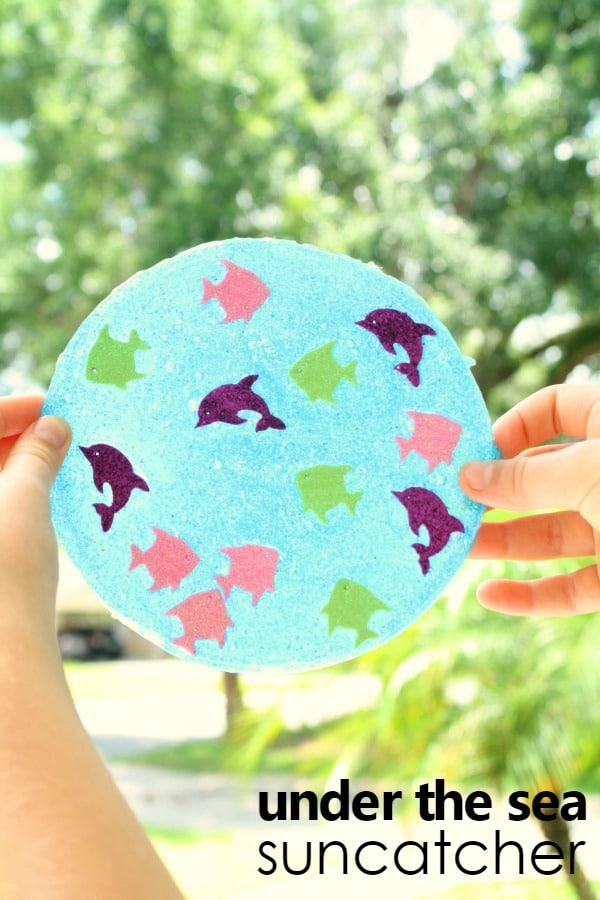
We go through a lot of glue in this house. It’s one craft supply we are constantly replenishing. There are so many projects to do with it! We’re thrilled to be partnering with Elmer’s to bring you today’s ocean suncatcher idea. Elmer’s is our brand of choice when it comes to quality adhesives for crafting, and their Glitter Glue makes the most beautiful blue “ocean” in this project. This ocean craft is simple and only requires three materials, which makes it perfect for a quick summer craft!

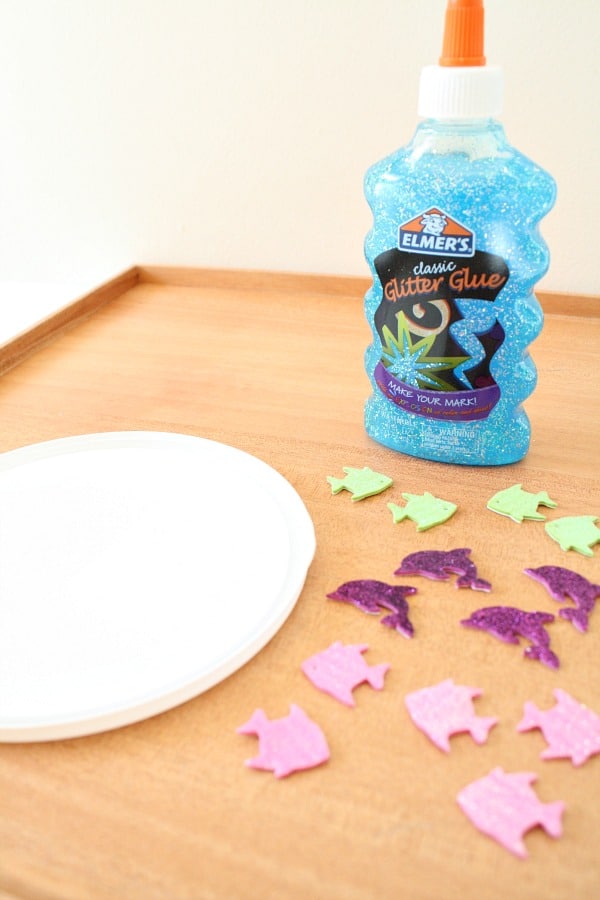
Materials You’ll Need
- Round plastic lid
- Elmer’s Blue Classic Glitter Glue
- Sea creature foam stickers or confetti-We found our sparkly foam stickers at a local craft store.

How to Make Your Ocean Craft Suncatcher
Any time we break out the Elmer’s Glitter Glue my girls get excited. They love how it sparkles, and the colors always add a special touch to our craft projects! To start making our suncatchers we removed the bottle cap and slowly drizzled the Glitter Glue onto our plastic lid.

While this may not seem very exciting to adults, kids are fascinated by watching the glue slowly ooze out of the bottle. Take your time and let them observe as they squeeze. Younger preschoolers may need help from an adult.
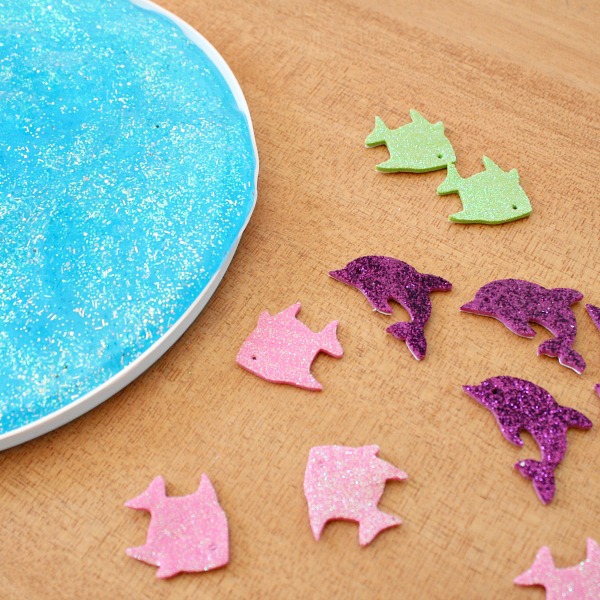
Once all of the glue is out of the bottle there’s no need to touch it. Simply watch as it takes the form of your lid. We used a whole bottle of glue for our suncatcher, but we could have probably used a little less. My girls just wanted to see if we could fit it all in the lid.

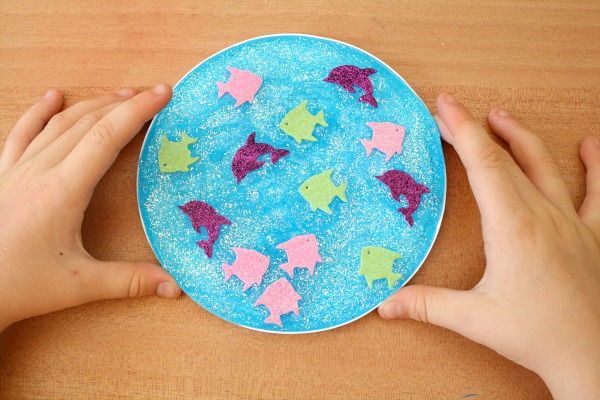
Once your glue settles it’s time to add in the sea creatures. Gently place them on top of the glue. There’s no need to press them down. Our foam stickers had backing on them, but we decided to leave it on rather than trying to peel and stick the sea creatures into the wet glue. There’s plenty to keep them stuck in place already!

After your little ones have placed their sea creatures to their liking, it’s time for the hardest part….the waiting! Depending on the level of humidity in your area these will take a couple of days to dry. Set them in a safe place and let them be for a few days.
If you have curious little ones, have them take a peek from time to time to take note of any changes they can see as the glue begins to dry out.

When you think it’s dry give it another day because the interior part takes a bit longer. You can gently peel back one side and you’ll know quickly whether it needs a little extra time. If it’s ready it will come out easily. When ours was done we flipped it over on wax paper to let the back dry out a bit longer. Then it was time for the big reveal!

My daughter couldn’t wait to see what her ocean suncatcher would look like in the sunlight so she took it outside to get a good look. She squealed with delight as the Glitter Glue and stickers shimmered in the light.

Later she chose to hang it in a window in her bedroom. We didn’t have to use anything special to stick it there. It stuck just like a store bought window cling. If there happens to be any residual wet glue that sticks to the window simply wash it off with warm water. The Glitter Glue is washable, another reason I love using it for projects with kids!
After a couple of days your suncatcher may dry out more and need to be hung instead of sticking to the window. If it does, simply attach a clip or poke a hole through it, and hang it from a string.

Want to try some more sparkly fun with Glitter Glue? Try making this DIY silly putty.
For more fun kids’ craft inspiration, visit Elmer’s and sign up for their newsletter. Make sure to also check them out on Facebook, Twitter, Instagram and Pinterest.
Find More Ocean Theme Fun
Ocean Activities and Resources


Ilene Lipscomb
Hi Shunna – love the suncatcher for the beach. We will be at the beach and wondered if we could use shells and drift in the glitter glue suncatchers.
Shaunna Evans
Interesting idea! I’m not 100% sure it will work, but if you approach it as an experiment I think it could be fun to test. I’d only use VERY lightweight shells or bits you find. Otherwise they may be too heavy or have trouble adhering to the glue. Good luck!
Two other ideas that we’ve shared in the past might also be fun.
Check out seashell self-portraits: https://www.fantasticfunandlearning.com/seashell-self-portrait-art-project.html
And take a look at the shell art here: https://www.fantasticfunandlearning.com/shell-activities-for-kids.html