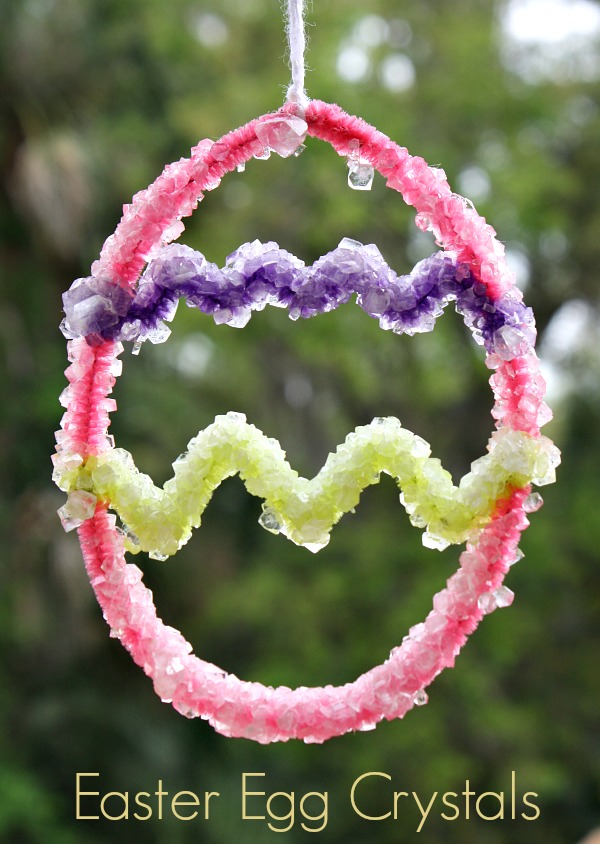
I’ve seen many articles describing how to make a crystal. It’s one of those activities that kids LOVE, and I’ve been waiting to make some crystals with my girls for a while. While planning our Easter theme activities I thought it would be really fun to see if we could make crystals in the shape of Easter eggs and bunnies.
FIND EVEN MORE EASTER THEME ACTIVITIES IN OUR PRINTABLE EASTER LESSON PLANS.
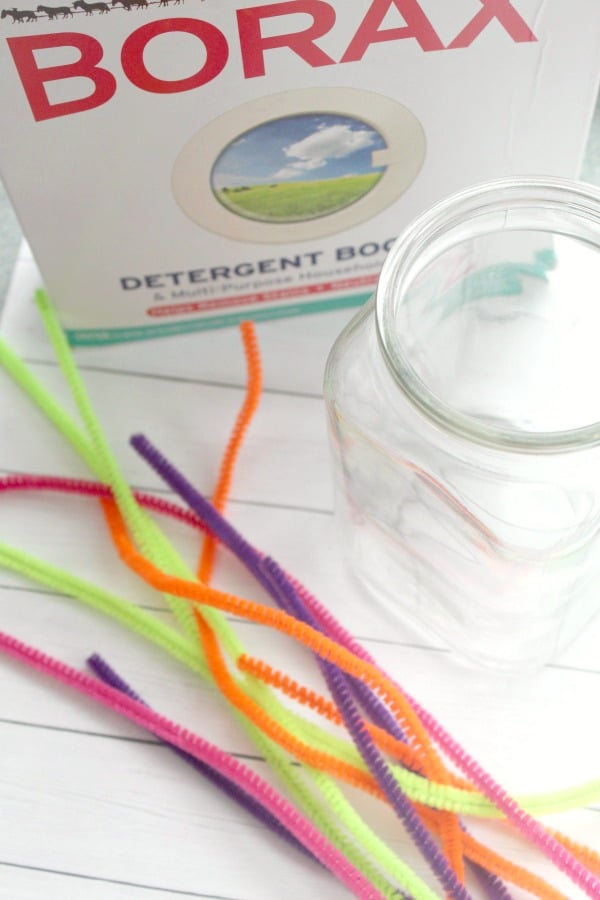
Materials for Making Crystals
- Pipe cleaners
- Borax powder
- Bamboo Skewer (or similar object like a pencil or chopstick)
- String
- Boiling Water
- Glass bowl or jar with large opening
How to Make a Crystal
We started making our crystals by choosing spring colors for our creations.
Begin by using the pipe cleaners to create the spring shapes. For this project we created eggs and a bunny. Use your scissors to snip the pipe cleaners down to the needed size.
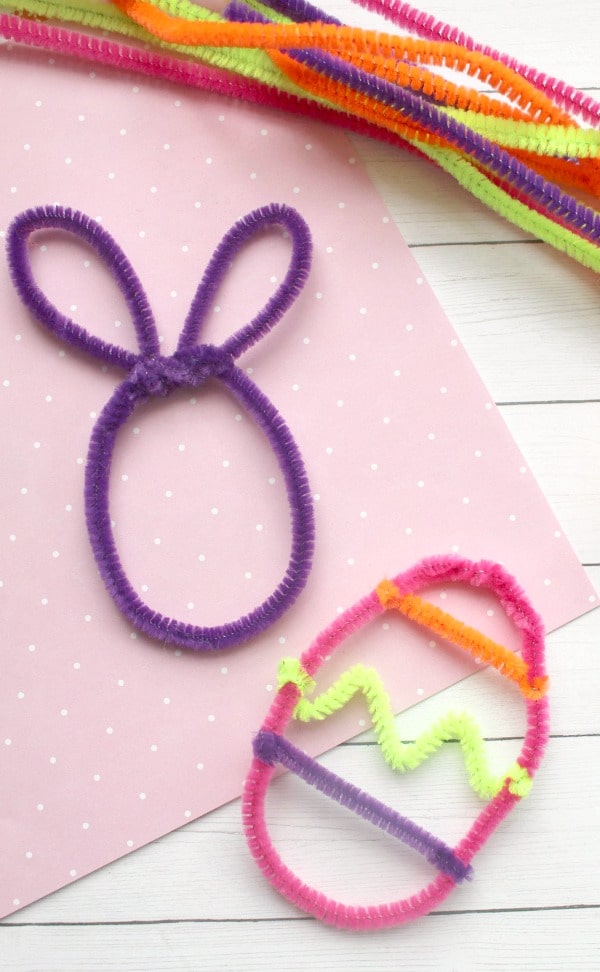
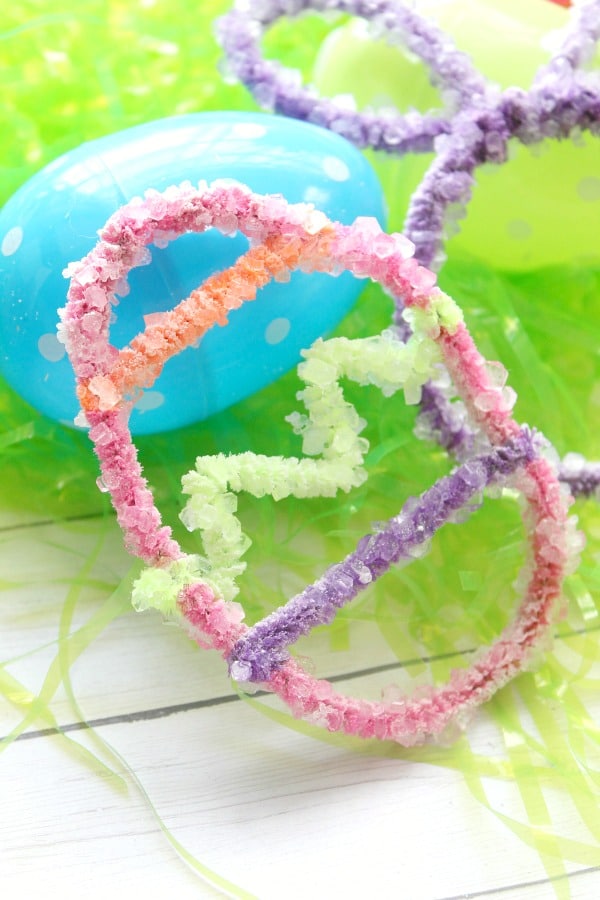
For our bunny, we made an oval with our pipe cleaners and twisted on two oval ears.
For the egg, we made an oval with our pipe cleaners and used shorter segments to make zigzags and lines to twist on as décor.

Then we used a piece of string or an extra pipe cleaner to tie the egg to the bamboo skewer. Measure to make sure it will hang into the container without touching the bottom.

Next we poured enough water into our bowl to cover the eggs completely. We used about six cups of water to fill our container. You could also use a large jar if you have one. Just be sure it has a large enough mouth to fit your creations and will allow for the full creation to be submerged in the Borax and water mixture.
Once the water is in the bowl add Borax. Use 3 Tablespoons of Borax for each cup of water. We added a little over a cup of Borax to our six cups of water. Then we stirred so some of the Borax would dissolve. Don’t worry if it isn’t completely dissolved.
Place the pipe cleaner egg into the bowl so that it isn’t touching the bottom of the container. Let the skewer rest on the sides. Make sure the shape is fully submerged in the water. (We thought ours was, but it ended up being just a bit above the water so the crystals didn’t form completely around the top.)

Set the container where it can be observed but won’t get bumped or disturbed. Stop back to check on the progress from time to time. My kids loved seeing the progress throughout the day. We left our crystals for about 24 hours before my kids couldn’t wait any longer. As we slowly pulled the egg out of the water mixture the kids’ faces lit up with excitement.
The finished crystal Easter eggs are beautiful!
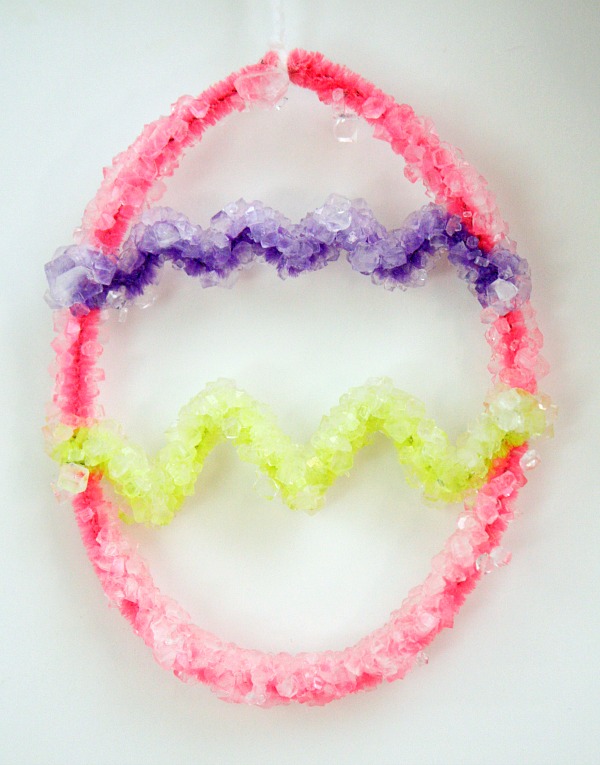
If you wait 2-3 days the design will be fully coated in crystals. Remove from the jar and set on paper towel to dry.

As if they weren’t excited enough we took the crystal outside to see how the light shines and they loved it even more. I think we’ll be making some different versions of these in the future!

Have you made Borax crystals with your kids? What kind did you make?
When we made our Easter egg crystals I didn’t realize Housing a Forest also made some adorable Easter inspired crystals last year. Check out their variations…super cute!
How To Make a Crystal Egg Easter Craft
Materials
- Pipe cleaners
- Borax powder
- Bamboo Skewer or similar object like a pencil or chopstick
- String
- Boiling Water
- Glass bowl or jar with large opening
Instructions
- We started making our crystals by choosing spring colors for our creations.
- Begin by using the pipe cleaners to create the spring shapes. For this project we created eggs and a bunny. Use your scissors to snip the pipe cleaners down to the needed size.
- For our bunny, we made an oval with our pipe cleaners and twisted on two oval ears.
- For the egg, we made an oval with our pipe cleaners and used shorter segments to make zigzags and lines to twist on as décor.
- Then we used a piece of string or an extra pipe cleaner to tie the egg to the bamboo skewer. Measure to make sure it will hang into the container without touching the bottom.
- Next we poured enough water into our bowl to cover the eggs completely. We used about six cups of water to fill our container. You could also use a large jar if you have one. Just be sure it has a large enough mouth to fit your creations and will allow for the full creation to be submerged in the Borax and water mixture.
- Once the water is in the bowl add Borax. Use 3 Tablespoons of Borax for each cup of water. We added a little over a cup of Borax to our six cups of water. Then we stirred so some of the Borax would dissolve. Don’t worry if it isn’t completely dissolved.
- Place the pipe cleaner egg into the bowl so that it isn’t touching the bottom of the container. Let the skewer rest on the sides. Make sure the shape is fully submerged in the water.
- Set the container where it can be observed but won’t get bumped or disturbed. Stop back to check on the progress from time to time.
- If you wait 2-3 days the design will be fully coated in crystals. Remove from the jar and set on paper towel to dry.
Notes
More Playful Easter Learning
Get hands-on math fun with our 29-page roll and color Easter egg math set. Practice early math skills with these fun games kids love.
~~ Click Here to Get the Roll and Color Easter Egg Math Set ~~
MORE EASTER FUN WITH PRINTABLE EASTER THEME LESSON PLANS
Save time and get right to the playful learning with our printable lesson plan sets. Each set includes over 30 playful learning activities related to the theme, and we’ve provided different versions for home preschool families and classroom teachers so all activities are geared directly toward your needs.

GET YOUR LESSON PLANS
Preschool Easter Theme Lesson Plans
Also available on Teachers Pay Teachers.


Kellie Kearney
This is such a fun and creative activity for Easter! Love how easy it is to make with kids. Can’t wait to try making crystal eggs and bunnies with my little ones!
Marysa
What a cute activity! Nice to have something to do with kids that also has an educational twist. I’ve never done a crystal growing project before; this looks really neat.
Shelley
We made Shamrock crystals with my sons entire 2nd grade class. It was a ton of fun the kids Loved it! We didnt use boiling water just pretty hot water and they turned out great.
Amanda Grant
I just wanted people to know a few things of what NOT to do when trying to make borax crystals. It seems that you must use the hottest water possible and do not use plastic. I think glass is probably to best but plastic containers certainly don’t work.
Rick Tramonti
No wonder it’s not working! I didn’t scroll down further assuming the directions provided the exact materials needed. You really need to add this to the top of the page by stating a GLASS bowl. There is a picture of a glass bowl, but to be honest I had no clue that it made a difference. I have 26 students waiting patiently…now I need to start aIl over! 🙁 I could have easily brought in glass bowls from home!
Shaunna Evans
How unfortunate! I’ve updated the materials list. But what a great opportunity to demonstrate to your students that sometimes our first attempts at things don’t work out, and we have to try again.
Stephanie
How durable are these? Are they the texture of rock candy? It looks really cool but my Lil ones are 2 &4, is that too young?
Shaunna Evans
It is the texture of rock candy, but they wouldn’t make great toys to play with. They are best to make and observe then hang for a decoration. My 3 and 5 year old enjoyed observing and seeing how their crystals turned out, but they did need to be well supervised.
Cynthia
Does it flake off though? Wondering if rock candy making would be better?
Shaunna Evans
Ours haven’t flaked off at all, even with a bit of handling and transferring around to different locations. I haven’t tried making rock candy, so I’m not sure how the two compare. I’ll have to test that out too. 🙂
Sandi
We have made borax snowflakes. The easter egg is a nice seasonal twist.
Rachel Kaylynn
What a fun idea – definitely going to have to try this with my kids! They loved making pipe cleaner snowflakes this past winter, I’m sure they’d also enjoy these.