In the last post of our rock theme series, I shared about our rock demo activity. After breaking our rocks into tiny bits, I wanted to use some of those pieces for other learning experiences. First we learned how to make a rock and used the little pebbles to make our own rocks.
I found the specific steps for this activity in Rocks and Minerals. Although the book itself was a little advanced for my preschoolers, it had a lot of great information. We enjoyed looking at the pictures and reading some of the facts on the pages that the kids found most interesting.
HOW TO MAKE YOUR OWN ROCK
See the steps in action in the video tutorial below.
Below are the steps we followed to make a rock…and some important tips we learned along the way.
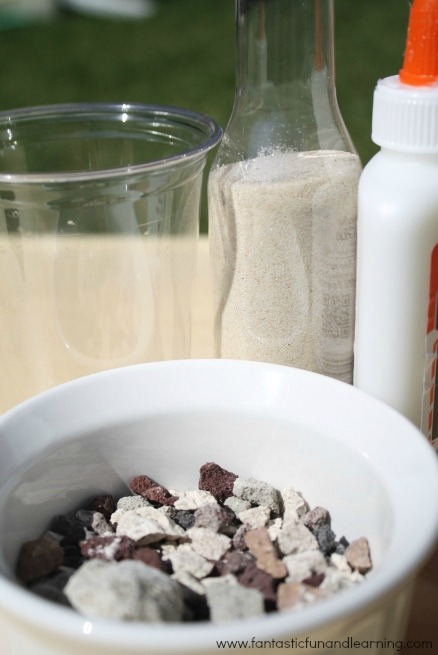
We gathered our materials:
- sand,
- pebbles,
- glue,
- and a disposable cup.
I used a clear cup so we could see the layers of “rock.”
We alternated adding layers of sand, glue, and pebbles until we had the cup about one third full.
Then we waited and waited for over a week for our rocks to dry.
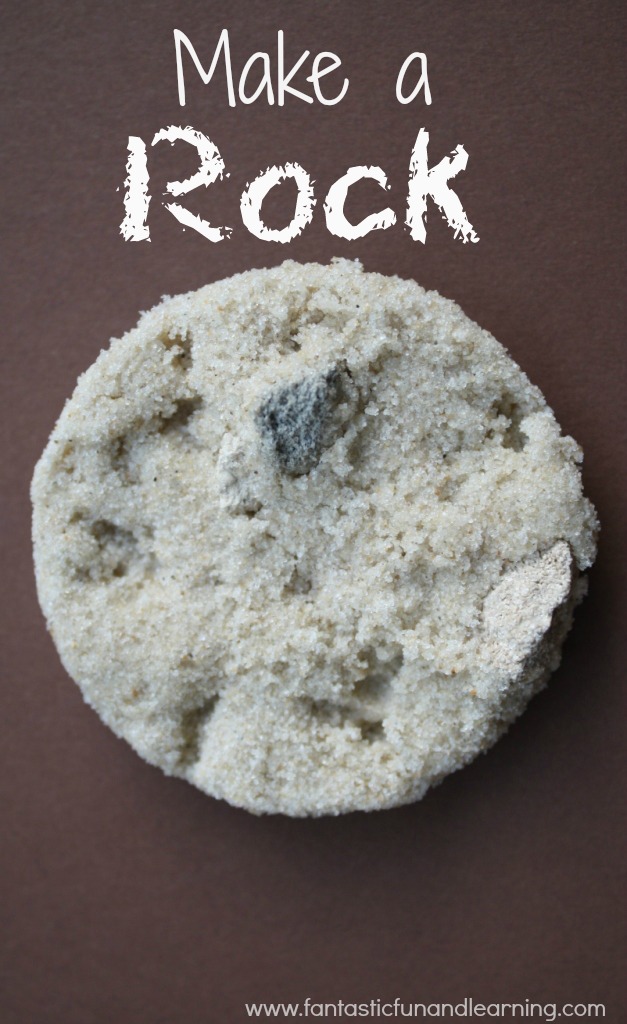
When we thought the rocks were completely dry, we cut the cup off of the rock. And we were surprised to find that the rock still wasn’t dried all the way through.
I almost scrapped the whole project and dismissed it as a fail, but instead we separated the layers out and left them to dry over night.

The next day the pieces of rock were fully dry, and we were able to pick them up and examine them.
My daughter was very intrigued by the difference between the layer that was on the top of the cup and the layer that was on the bottom of the cup.
In a classroom setting each child’s rock will be unique, so be sure to leave time to observe and discuss similarities and differences between the rock formations.
How to Make a Rock with Kids
Materials
- Sand
- Pebbles
- Glue
- Disposable Cups
Instructions
- Alternate adding layers of sand, glue, and pebbles until your cup is about one third full.
- We waited and waited for over a week for our rocks to dry, but to our surprise they still weren't dry yet!
- To speed things up, we separated the layers out and left them to dry over night.
- The next day the pieces of rock were fully dry, and we were able to pick them up and examine them.
- In a classroom setting each child’s rock will be unique, so be sure to leave time to observe and discuss similarities and differences between the rock formations!
Notes
Overall this first attempt was an interesting project for the kids, but I learned two things that have helped make things go more smoothly when repeating the activity.
- Use much thinner layers of sand and glue, and
- Let the rocks dry outside in the sun when possible.
We might also try this version of making a rock in a cup. The materials and process are a bit different, so it might be neat to compare the results of both experiments.
You can find more activities and ideas for teaching kids about rocks on my Pinterest boards.
Get a full week of playful rock theme ideas!
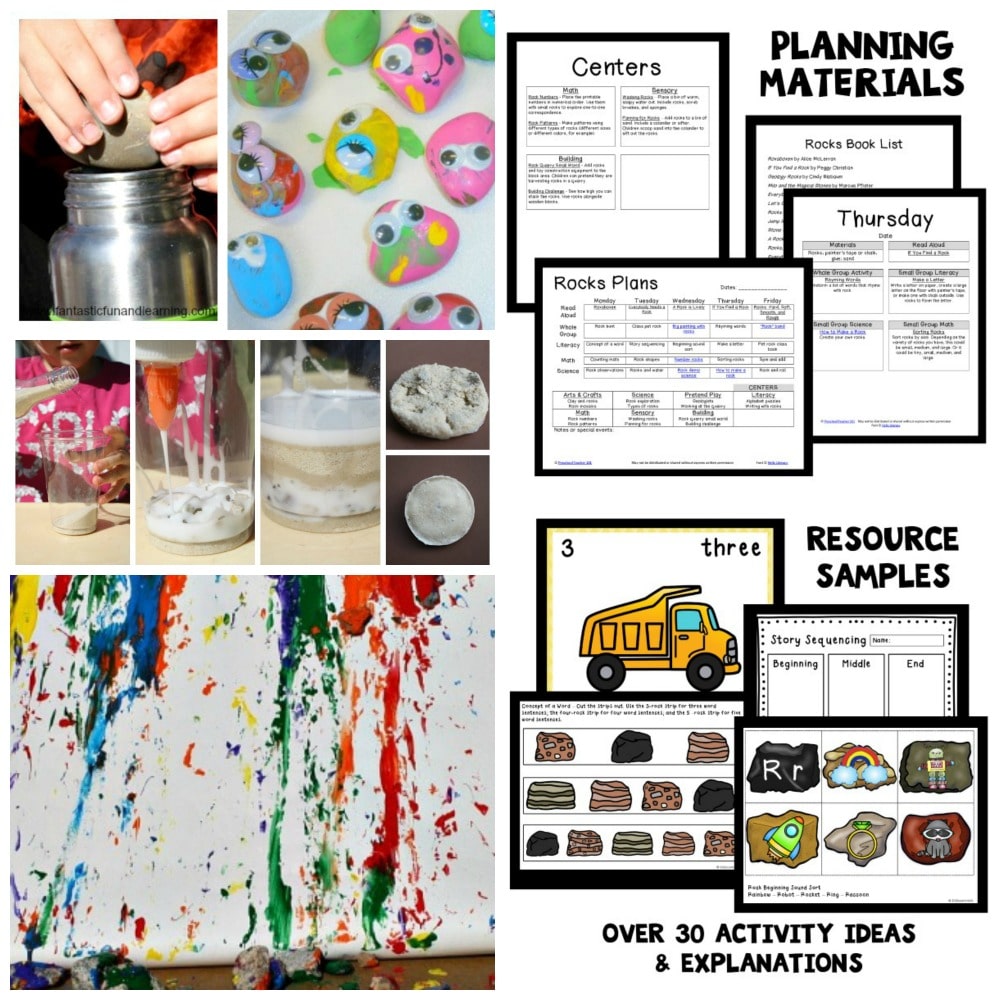
Save time and get right to the playful learning with our printable lesson plan sets. Each set includes over 30 playful learning activities related to the theme, and we’ve provided different versions for home preschool families and classroom teachers so all activities are geared directly toward your needs.
Get Your Copy
Also available on Teachers Pay Teachers.
Deb @ Living Montessori Now
This is such a fun idea, Shaunna! I loved reading abut your experiences with the experiment. I featured your post and photo in my Montessori-inspired rocks and minerals unit this week. 🙂
Beth
I tried making rocks earlier this year before I found this site. My students loved it. I used plastic cups too, but I poked a lot of holes in the bottom of the cup with a pin to let the glue drain. It still took over a week to fully dry but it helped to keep the rock design in place.
Shaunna Evans
Great idea, Beth! We’ll have to give that a try next time.
Ticia
I like how you made the rock, what a great idea! Thanks for linking up to Science Sunday!
Shaunna
Thanks! I was excited to find the idea and give it a try!
Tulip
That is an awesome rock! I never thought of having my kids make them. Thanks for sharing your idea at Mom’s Library!
Shaunna
Thanks! I really never thought it was an option either, but it was a neat experiment.
Caroline
Neat experiment! Thanks for sharing what worked and didn’t work for you guys, too.
Shaunna
Thanks! It was definitely interesting for the kids to try, and I’m looking forward to testing out the process a few more times.
Jessica @ Play Trains!
Cool idea! We’ll have to try it.
Shaunna
Thanks! I hope you do give it a try…would love to hear how it works out for you.