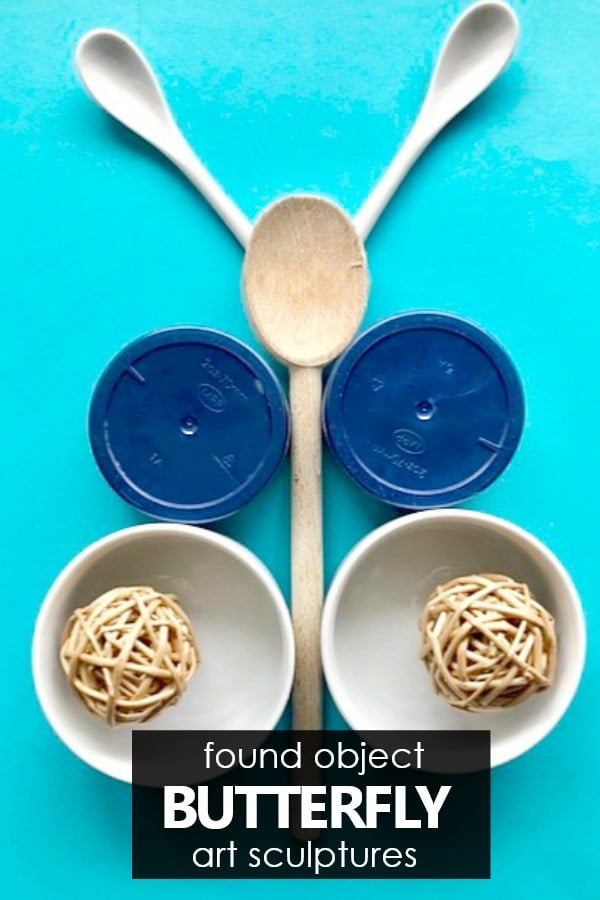
Collect recyclables and gather materials around your home for this fun art sculpture activity for kids as you make a found object butterfly craft.
Today we’ll use everyday household items to create beautiful found object butterflies. Those small paper plates can act as wings, the remote control can become the body, and spoons can transform into antennae! The possibilities are endless!
This creative play activity promotes problem-solving skills and is sure to boost creativity! You’ll never look at that ice cream scooper, candlestick holder, or measuring cup in the same way again! Let’s grab a bag, start collecting, and open up our minds to new solutions and possibilities!
GET A FULL WEEK OF BUTTERFLY THEME ACTIVITIES WITH OUR PRESCHOOL BUTTERFLY LESSON PLANS
Your glue sticks may be running low, markers dried up, and crayons worn down to nubs, but you can still create artwork! Get ready to make art without the art supplies! No excuses!
CREATIVE PLAY
Playing is learning! As your child manipulates the found objects to create the butterfly, he or she will explore reasoning skills and engage in self-discovery and divergent thinking while finding numerous solutions to the challenge. Creative play is relaxed, flexible, and encourages freedom through trial and error. Let self-expression and your imagination take over!
LOOK & DISCOVER

Show your child an array of photographs of butterflies and discuss what they see. Compare and contrast the different types of butterflies including various colors and shapes on view. Divide a butterfly in half. Are the wing’s shapes and colors the same on both sides? If so, they are symmetrical. Incorporate this concept when creating the found object butterfly.
MATERIALS:
There is no long list of art supplies for this activity, simply use everyday household items such as cups and plates, utensils, and more! You may want to use a pencil and paper to sketch your finished creation.

STEP BY STEP DIRECTIONS:
1. Search & Find
Walk around the house and collect an array of objects that can be used to create your butterfly. Keep in mind that circle shapes will work well for the wings and find items that can easily represent the body and antennae. How is the body shape different from the antenna shape? How are they similar? Remember to collect duplicates of items or items similar in size and shape in order to create a symmetrical butterfly.
2. Play!

Begin to build by laying out the items and moving them around to form your butterfly. Which one of the items can best represent the body, wings, and antennae? Encourage taking artistic risks. Remember there is not one means to an end, but rather copious solutions to the challenge. Have fun and swap out various found objects to create an individual design.
3. Sketch!

If you wish, draw a picture of your butterfly so you will always remember your creation!
4. Closure & Cleanup!
Count how many items you used to create your butterfly. What shapes did you use? Is your butterfly symmetrical? What else could you create with the household items? Return all items back where they belong.

SCIENCE & LITERACY
Discuss the life cycle of a butterfly from egg, caterpillar, and chrysalis to butterfly. One of my favorite books that illustrates this transformation is called The Very Impatient Caterpillar by Ross Burach. This comical and whimsical book explains the life cycle of an impatient caterpillar with humor in a comic book like design. Kids will be laughing and learning all at the same time. Also check out our other Insect Theme Preschool Activities for more learning fun!

Thank you for playing with me today! I can’t wait to see your distinctive and unique butterflies! Please share your artwork on Instagram and remember to tag @fantasticfunandlearning and @youngschoolartwithmr.g.
CONNECT WITH VIN GIANNETTO
Learn more about Vin here on his author bio page. Follow along with him on Facebook at Young School Art with Mr. Giannetto and on Instagram @youngschoolartwithmr.g for art project ideas.
MORE ART AND CRAFT PROJECT IDEAS FROM VIN
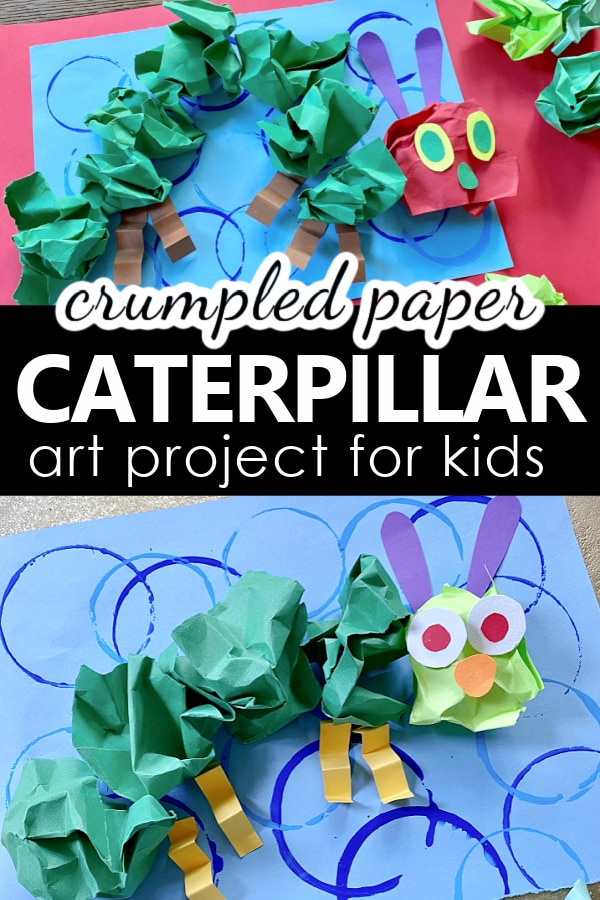
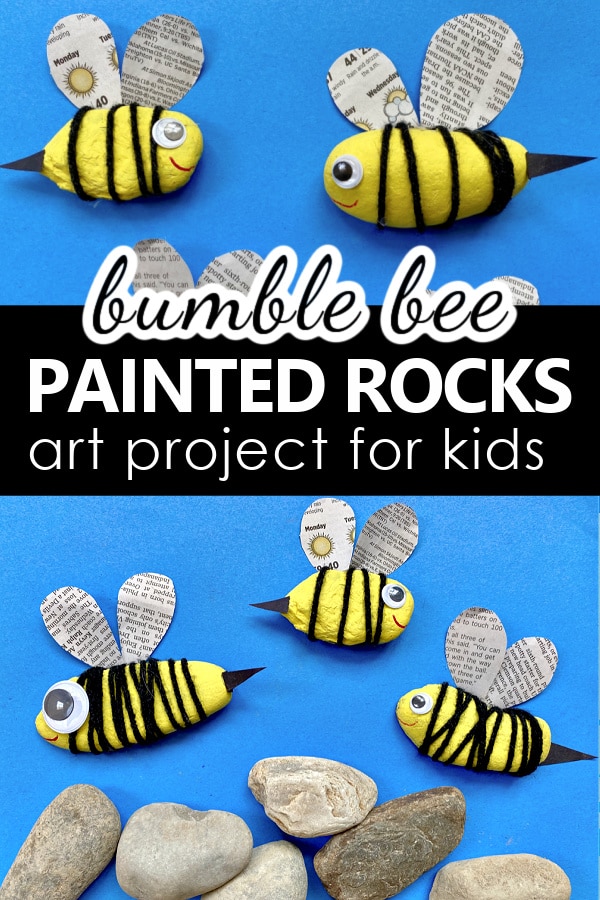
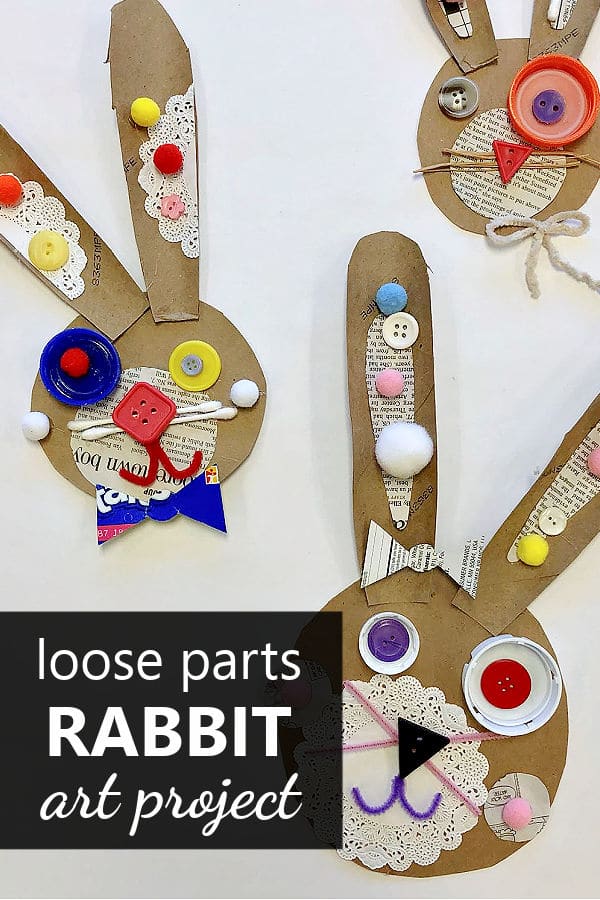
Vin’s Fun Spring Art Projects for Kids
Click on the images below to see the full tutorial for each art project.


Get a Full Week of Butterfly Theme Learning and Play

Save time and get right to the playful learning with our printable lesson plan sets. Each set includes over 30 playful learning activities related to the theme, and we’ve provided different versions for home preschool families and classroom teachers so all activities are geared directly toward your needs.
In this 248-page comprehensive preschool butterfly theme lesson plan pack kids learn about the life cycle of a butterfly during a full-week (or more!) of playful reading, math, and science activities. Vivid photographs are included throughout the unit so children can see real life examples of caterpillars and butterflies. Watch this short video to see just a few examples of the types of activities and printables included in this set:
This set includes active hands-on learning ideas and the following printables:
1) Butterfly Life Cycle Roll and Graph Game
2) Butterfly Life Cycle Roll and Graph Game
3) Caterpillar Uppercase Alphabet Cards
4) Butterfly Lowercase Alphabet Cards
5) Butterfly Life Cycle Cards
6) Butterfly Symmetry Matching Cards
7) Butterfly Life Cycle Word Building Mats
8) Caterpillar Measurement Recording Sheet
9) Caterpillar Patterning Activity
10) Caterpillar Syllable Sort
11) Caterpillar Egg Leaf Counting Mats (Numbers 1-10)
Get Your Lesson Plans

Also available on Teachers Pay Teachers.
Anne Talberth
I did the butterfly symmetry with found objects as a digital lesson. One of my preschoolers sent me back a picture showing his butterfly that he made! Thank you for this awesome idea!!
Shaunna
Thanks, Anne, for sharing this comment! I am so happy to hear that your digital lesson and butterfly craft were a success!!
Laurie Stewart
I love this so much!! We are doing distance learning, like so many others, and we just started talking about measurement with our Kinders. I would probably also create a google slide presentation with images of butterflies to give them some background knowledge (for those who can’t get outside or whatever), but then also have them compare the top wings to the bottom wings in size. Is one shorter/taller? How many pennies, paperclips, etc. tall is each wing? Would be another way to show the symmetry of them as well! Thanks so much for this idea! I am already adding it to my list for next week’s plans!!!
Shaunna
Hi Laurie,
We love to hear how you are loving our butterfly activity and extending it for even more learning! Thanks for sharing your feedback with me.
Shaunna