Today’s spring theme activity will get children hopping and crumpling as we make spring chicks hatching from eggs. Filled with movement and energy this project highlights fine motor skills and introduces young artists to a variety of art materials and techniques. Children will be highly engaged as they experience different textures such as the soft yarn, hard buttons, and bumpy eggshells while making the adorable chick. Let’s gather our art supplies and get crackin’!

Painting Without Paintbrushes
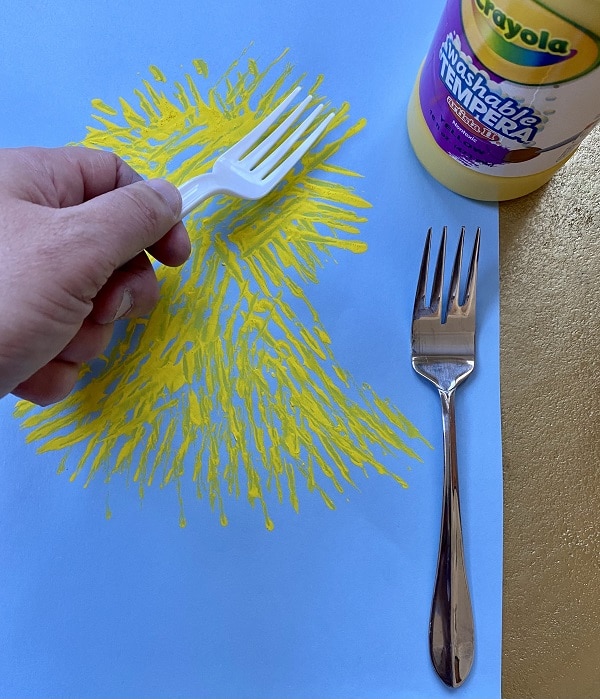
I’ve found that young children often love to paint with non-traditional painting tools. Using familiar items such as a fork and a cup to paint combines a level of comfort with the unexpected. Using these kitchen items in a new way promotes creativity and creative play. Children are excited and engaged. When using a paintbrush there are often rules attached to the process such as staying in the lines. However, when the paintbrush is removed from the painting process, freedom, self-expression, and self-discovery are on full display.
Crumpling Paper
Crumpling paper is a great way to bring movement and energy into the art-making process. It often engages some children who may be reluctant to partake in a craft. It also aids in fine motor skill development as little hands and fingers squeeze the paper. In today’s art project crumpling the egg shapes and opening them back up will create the appearance of cracks in the eggshells.
Chick Facts for Kids
- Chicks are baby chickens.
- Chicks hatch from an egg.
- An egg takes 20-21 days to hatch.
- A female chicken is called a hen.
- A male chicken is called a rooster.
- Chicks love to eat worms!
Materials:
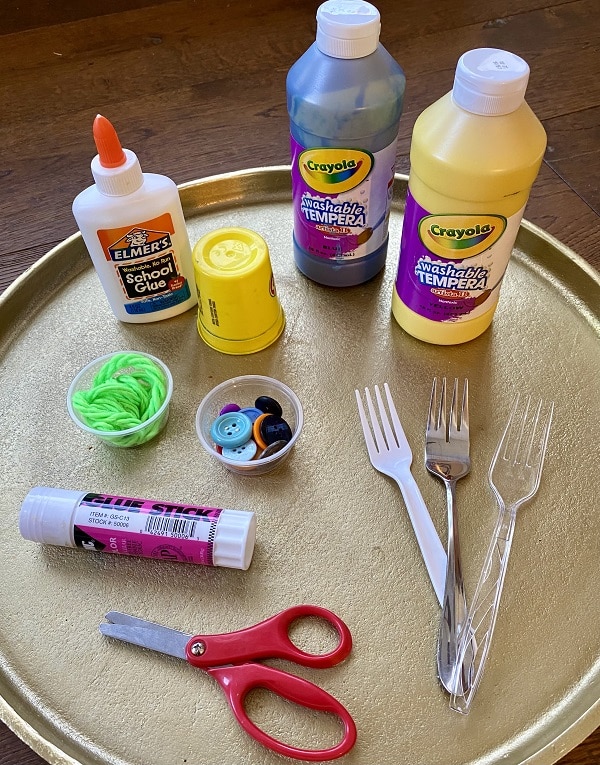
- Construction Paper
- Scissors
- Glue Stick
- White Glue or Tacky Glue
- Yarn
- Tempera Paint
- Fork
- Buttons
- Cup
- Yarn
Step by Step Directions for making Chick Art Project:
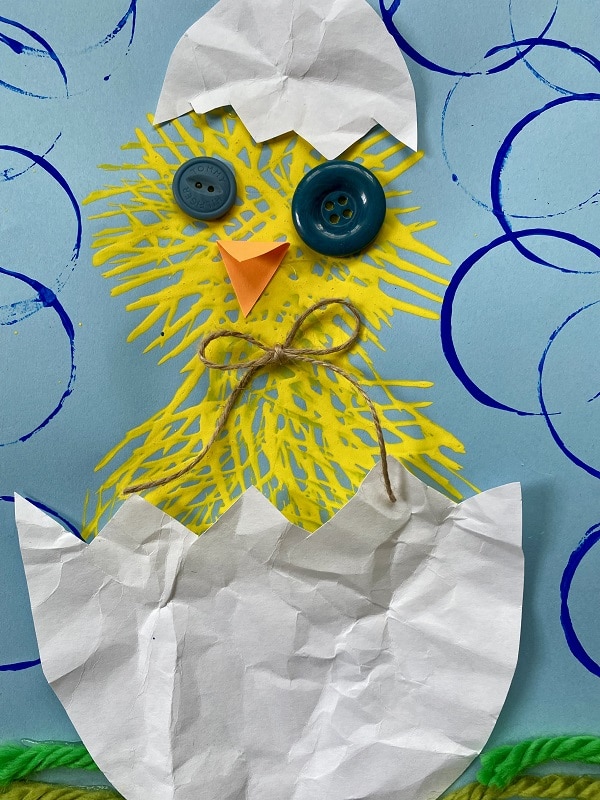
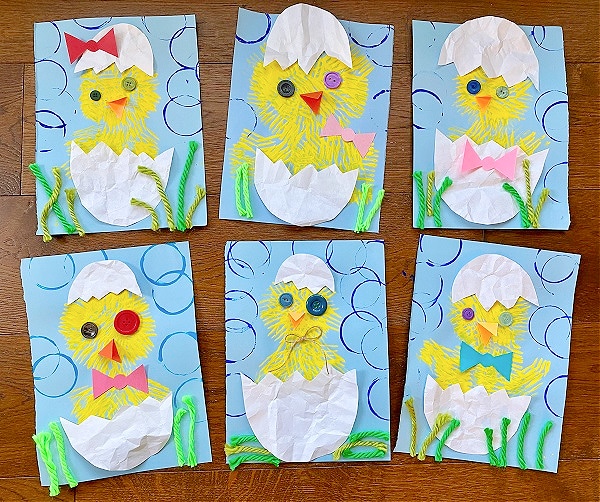
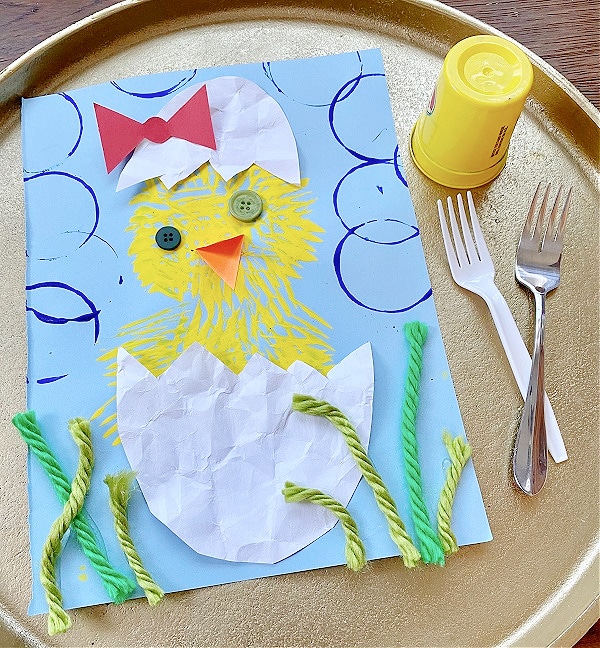
Draw a circle for the chick’s head and a triangle for the body.
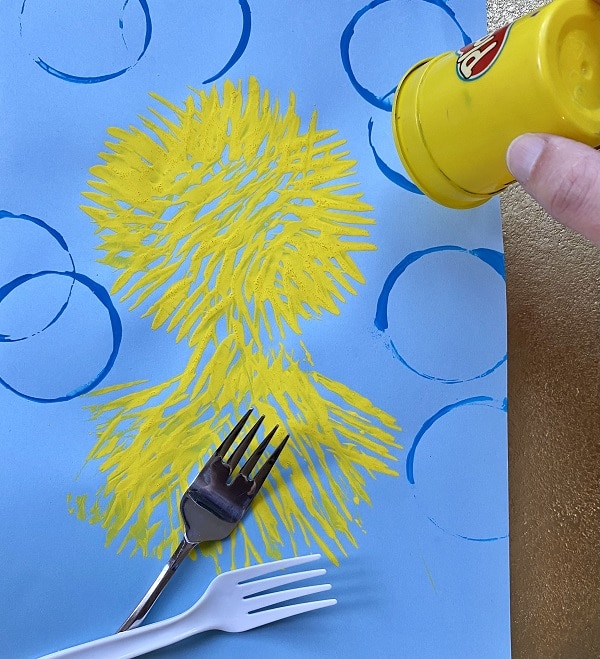
Use a fork to stamp the feathers of the chick. Dip the tines of the fork flat into yellow paint and slowly hop up and down. Let the paint dry.
Dip the open end of a small cup into paint and stamp in the sky to add movement and excitement to your work. Let the paint dry.
Create the broken eggshells by drawing a small rainbow and a large rainbow on white paper and making a zigzag across the bottom.

Cut out the shapes and crumple them up. Open the crumpled eggshells. Now the eggshells have cracks. Glue them to the chick.

Use construction paper to add a beak and a bow for the chick.
Use buttons to make eyes.
Glue yarn to the bottom to make grass.

Talk About Art
- What is happening to your chick? What came before the picture and what will happen next?
- Which painting technique was your favorite? Why?
- Identify the eyes, beak, and feathers of the chick.
Literacy Connection
The book This Little Chick by John Lawrence introduces the reader to numerous barnyard animals. Sing along as the chick’s new friends each say hello with a moo, a quack, or a baa. I recommend reading this book before or after the art activity.

I hope you have fun making our spring chick art project today! Be sure to tag @fantasticfunandlearning and @youngschoolartwithmr.g on Instagram!
CONNECT WITH VIN GIANNETTO
Learn more about Vin here on his author bio page. Follow along with him on Facebook at Young School Art with Mr. Giannetto and on Instagram @youngschoolartwithmr.g for art project ideas.
MORE ART AND CRAFT PROJECT IDEAS FROM VIN
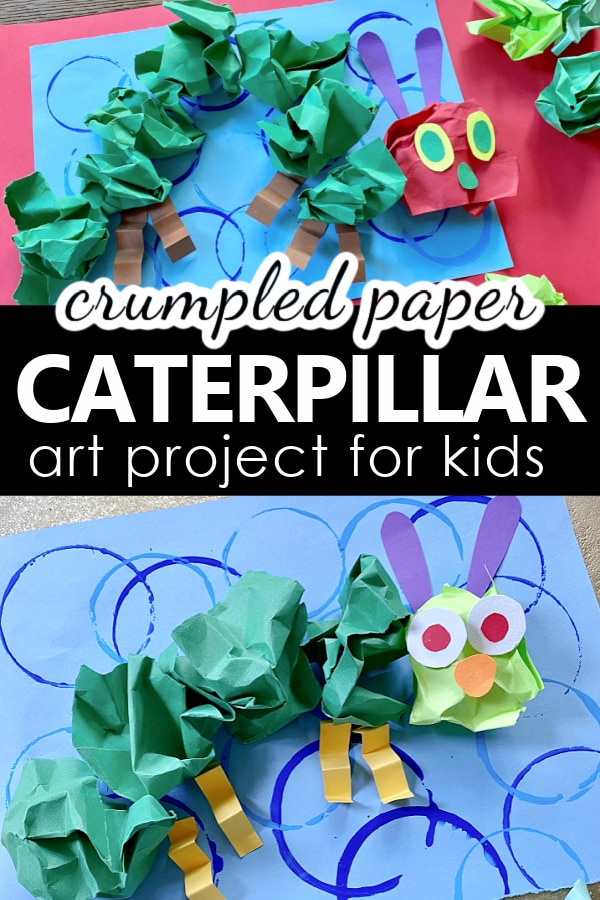
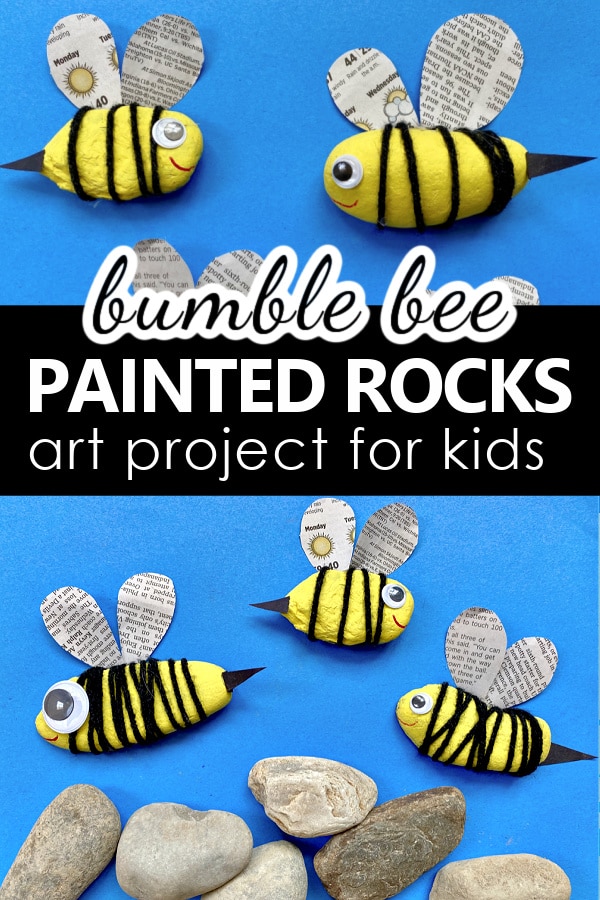
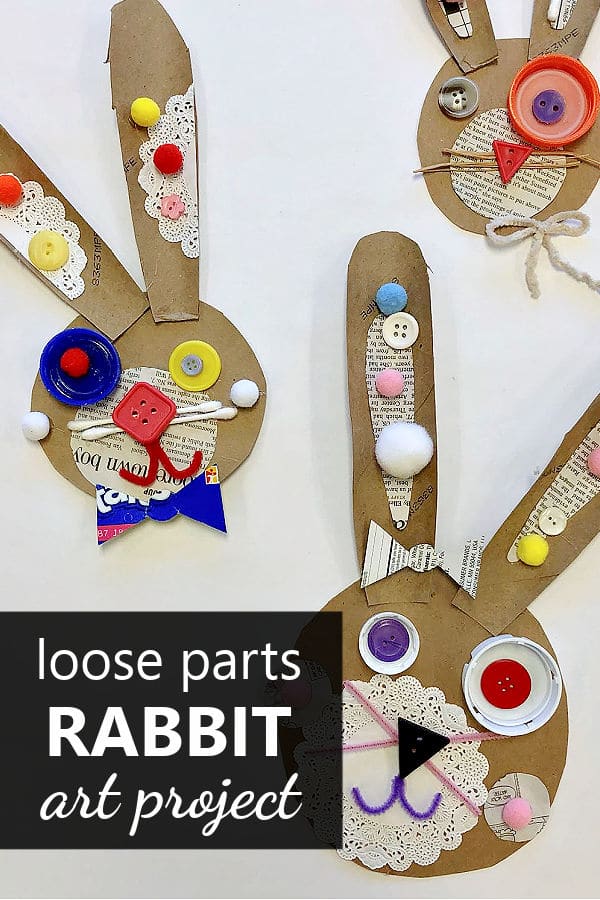
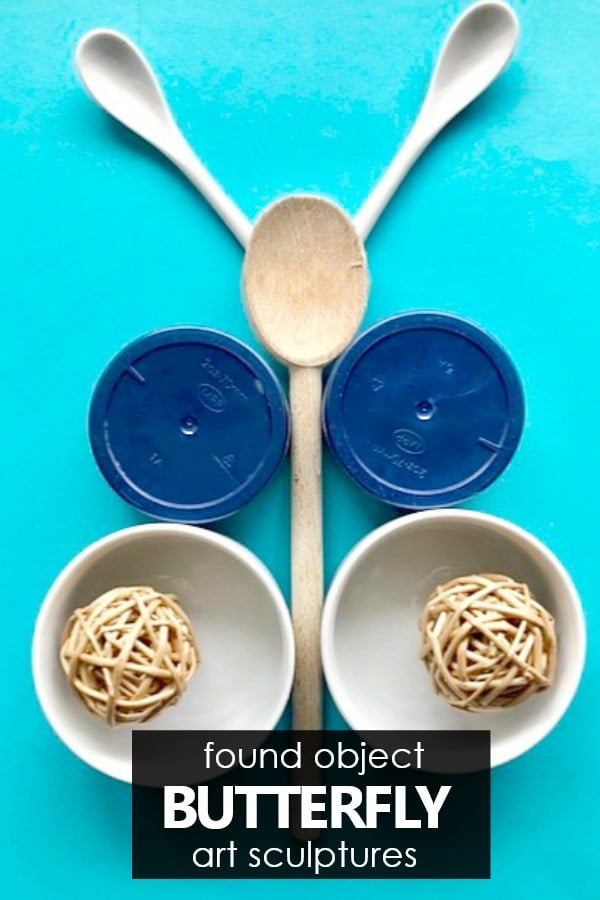
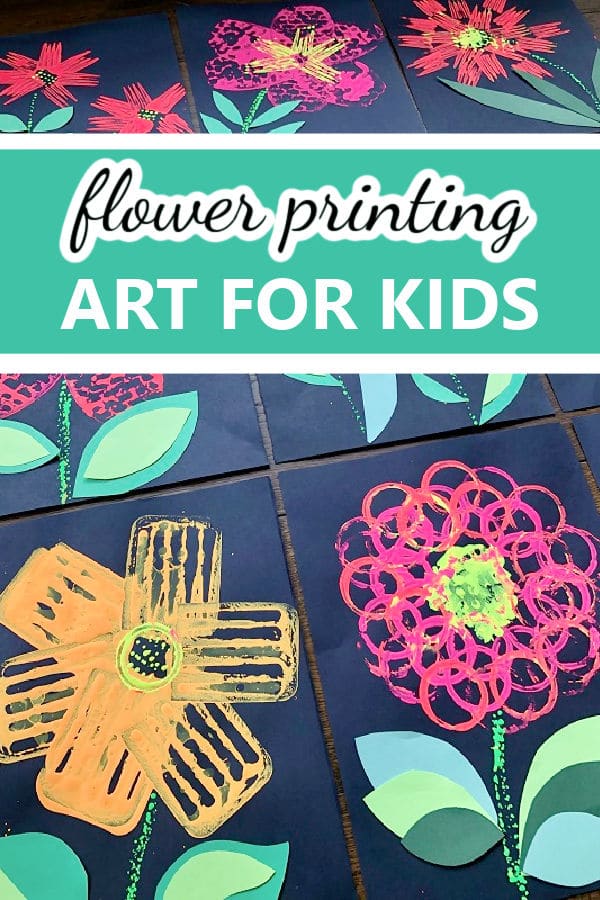
Fun Spring Art Projects for Kids
Click on the images below to see the full tutorial for each art project.


MORE EASTER FUN WITH PRINTABLE EASTER THEME LESSON PLANS
Save time and get right to the playful learning with our printable lesson plan sets. Each set includes over 30 playful learning activities related to the theme, and we’ve provided different versions for home preschool families and classroom teachers so all activities are geared directly toward your needs.

Watch this short video to see just a few examples of the types of activities and printables included in this set:
GET YOUR LESSON PLANS

Also available on Teachers Pay Teachers.
Leave a Reply