The weather is getting warmer and the flowers are beginning to bloom. It’s the perfect time of year to bring the kids outside and create art in and with nature! Today we’ll use found objects from nature such as twigs, leaves, and flowers build a small world and create Gnome Homes, Fairy Castles, Bug Motels, or lands yet to be discovered.
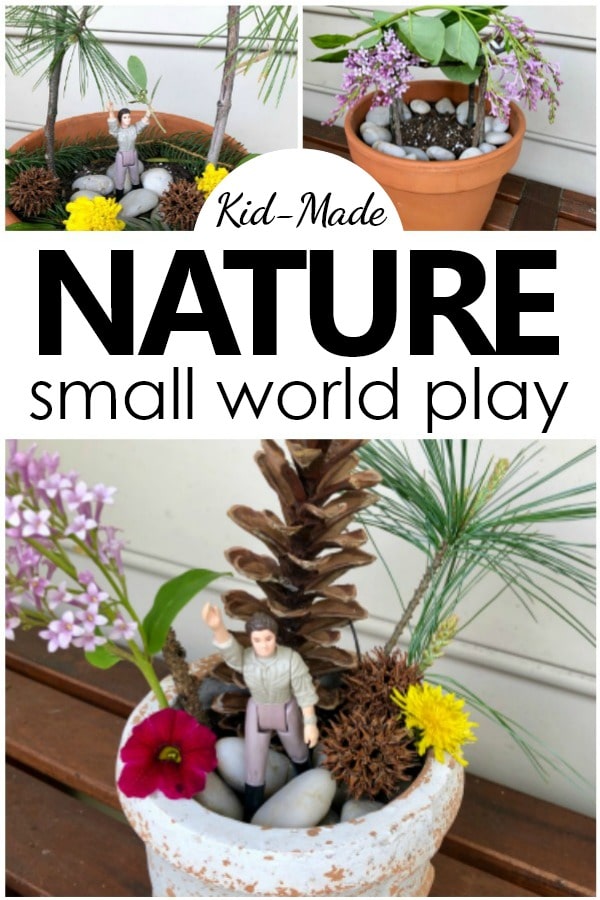
These fanciful and whimsical small worlds will spark creative play and expand imaginary thought. Sticks and pinecones will become walls while leaves and flowers can transform into ceilings and shelters. Beauty meets function in this creative play building challenge! Nature objects become functional design elements while still holding their aesthetic beauty. Let’s get outside and get creative!
Build a Small World with Nature
Art and Nature
Nature is an ideal companion to the elements and principles of art. Color, shape, line, texture, and more can be explored by examining leaves, twigs, and flowers up close! As a result, hands-on learning, self-discovery, and visual learning are all on full display. Science and art merge together as sight, touch, and smell all take center stage. Using non-traditional materials to create art can also be freeing and encourage open-ended art. Frustration and doubts can be tossed aside as you decide the rules of art-making.

Designing a Small World
As you begin to build your structure identify who will live inside. Let the occupants and function of the home reflect its design. A castle for a fairy may include a moat and a drawbridge. Gnome homes may have more traditional living spaces such as a living room, kitchen, bedroom, and such. A bug motel may include multiple and identical tiny rooms and even a pool for guests. An explorer may encounter new lands filled with mountains, trees, and forests. Having a vision for your shelter can be a wonderful first
step in the creative process.
Materials:
- Flower pot and soil
- Plastic ties
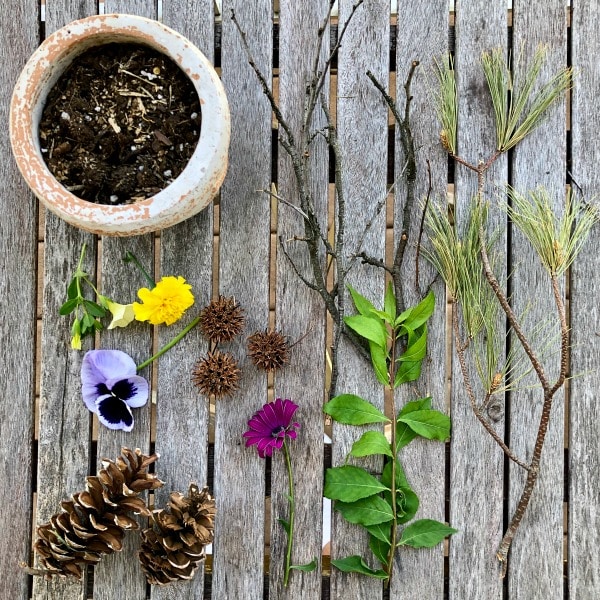
- Found objects in nature such as twigs, flowers, rocks, pinecones, leaves, etc.
- Small toy figures
- Optional: paper, scissors, crayons, toothpicks, tape
Step By Step Directions to Build a Small World
Step 1: Gather and Sort
Begin to collect an array of objects from nature. Touch and feel each item. Use a magnifying glass to take a closer look. Sort them into like categories and fill a flower pot with soil.
Step 2: Plan and Build
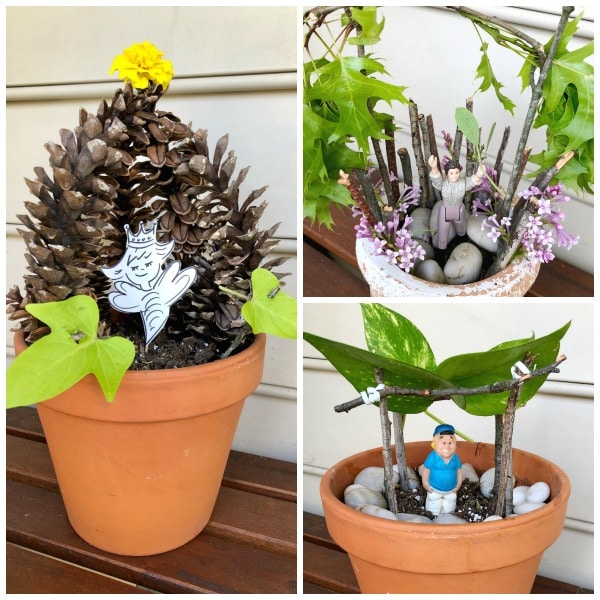
Decide the type of structure you would like to create. Who will occupy your home? Begin to push the sticks into the soil to construct the walls of your building. Add a roof with leaves or other items. Use plastic ties to secure the sticks together if needed. Go with your instinct and take artistic risks! Remember there is no right way or wrong way to make art!
Step 3: Add a Friend
Use a small toy figure or make one of your own to occupy your structure. Draw a gnome, fairy, bug, or explorer to add to your creation. Cut out the drawing, tape a toothpick to the back, and secure it into the soil.

Step 4: Play and Tell
Engage in play with your nature small world!
Extend this Art Activity
- Tell a story about your small world. Identify the main character and the setting.
- Draw a picture of your nature structure.
- Identify each found object from nature that you used as a building material.
- What nature objects did you enjoy building with the most and the least?
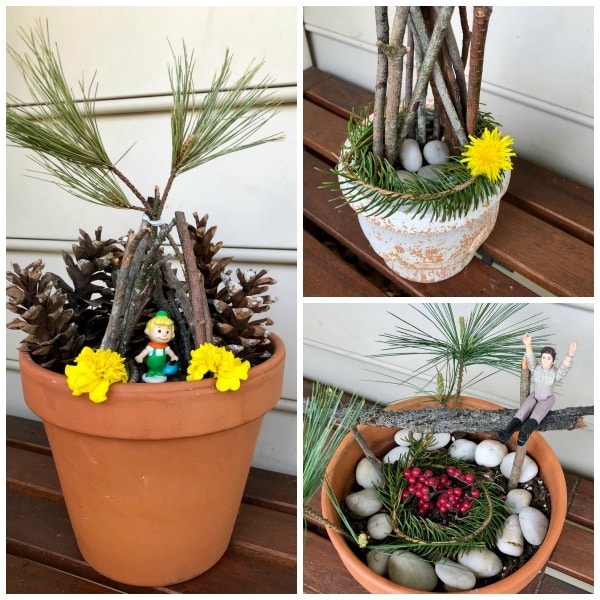
I hope you dove into a new enchanted world today while creating art with nature. Each small world is a unique place where stories and ideas can blossom!
We would love to see your unique and magical creations! Please tag @fantasticfunandlearning and @youngschoolartwithmr.g on Instagram!
CONNECT WITH VIN GIANNETTO
Learn more about Vin here on his author bio page. Follow along with him on Facebook at Young School Art with Mr. Giannetto and on Instagram @youngschoolartwithmr.g for art project ideas.
MORE ART AND CRAFT PROJECT IDEAS FROM VIN
Nonseasonal Art Projects for Kids
Click on the images below to see the full tutorial for each art project.
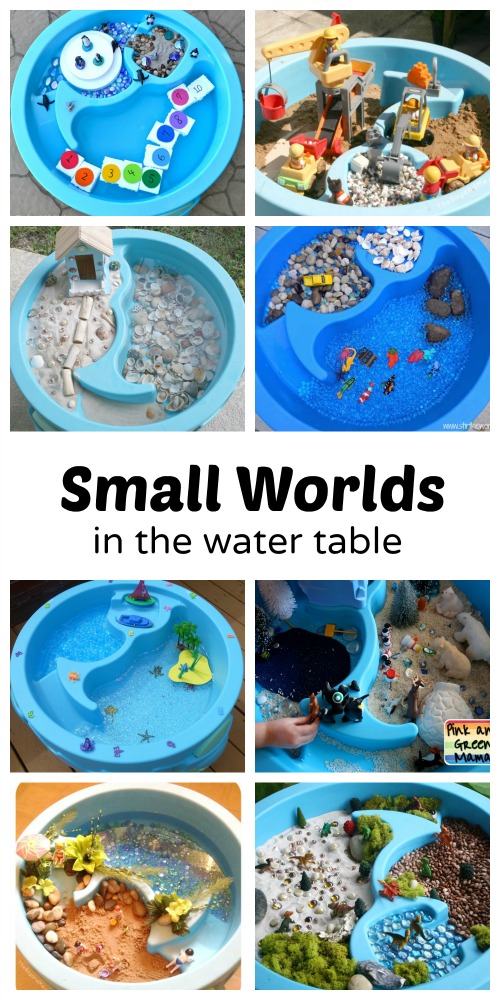
Looking for even more small world fun?


Ocean Small World Summer Sensory Play
Leave a Reply